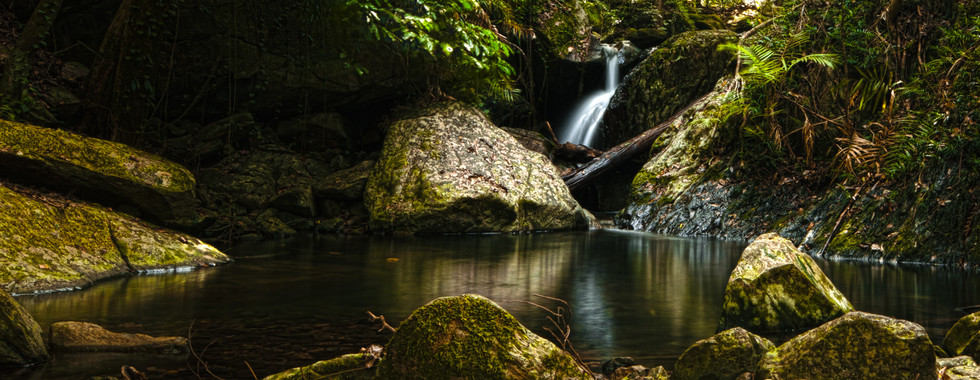
What is HDR photography?
- Tracey Jones

- Jan 10
- 1 min read
Updated: Jan 15
HDR stands for high dynamic range. Dynamic range is the difference between the brightest and darkest parts of the image. A camera only has a range of 1000:1, our eyes have a range of 10000:1 and a scene which we want to photograph could have up to 100000:1. This means that when we are taking a normal picture with our camera a lot of details are lost in the shadows and highlights. Using the HDR method allows us to bring back those details.
To create a HDR image we need the camera to make multiple images of the same scene at different exposures. This is often referred to as bracketing. These images are then blended together in post production. Most cameras have a bracketing option, so you can set the camera to take a series of photos (between 3 and 9 photos) with just one touch of the shutter button.
HDR images are most commonly used in landscape photography, but can be used in almost any scene or location.
HDR does not work well for moving subjects because the multiple exposures allow for movement blue to occur.
Equipment
· Camera with Auto Exposure Bracketing (AEB) or HDR mode (If your camera doesn’t have these you can still do it manually)
· Tripod
· Photoshop or other HDR photo blending software
· Big memory cards
· Shutter Release Cable (Can also use self time mode)
Planning
Choose a location for your HDR shoot. Scenes with lots of contrast between the shadows and highlights work the best. Try to choose a day which is not windy especially if there are trees in the scene.


Comments